


.3D模型:
.商品簡介:
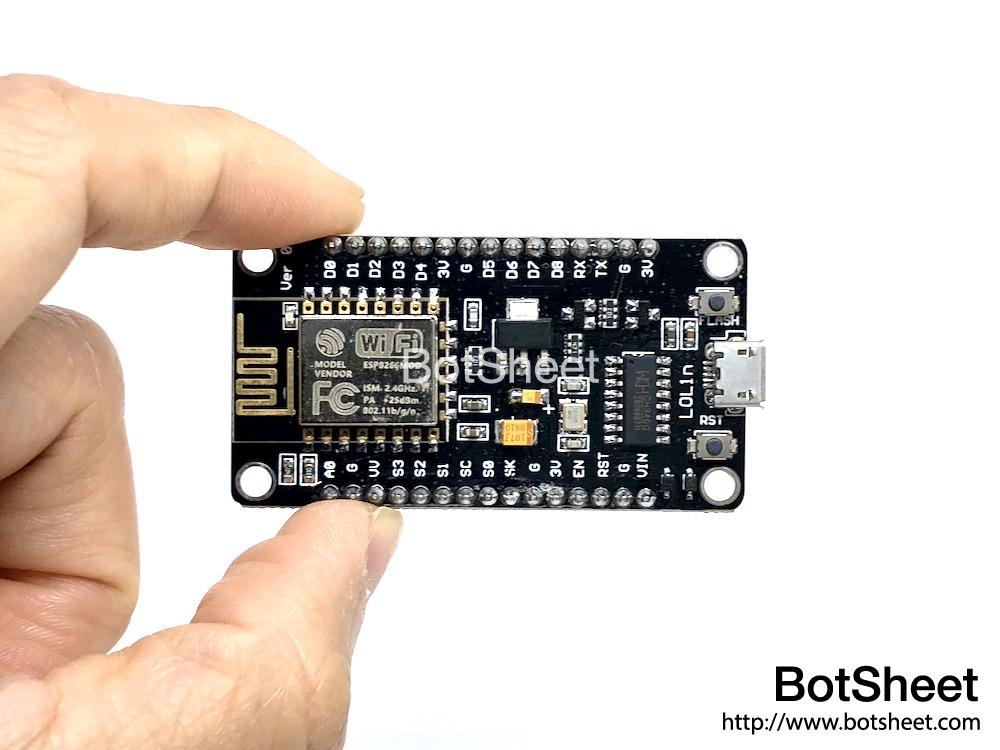
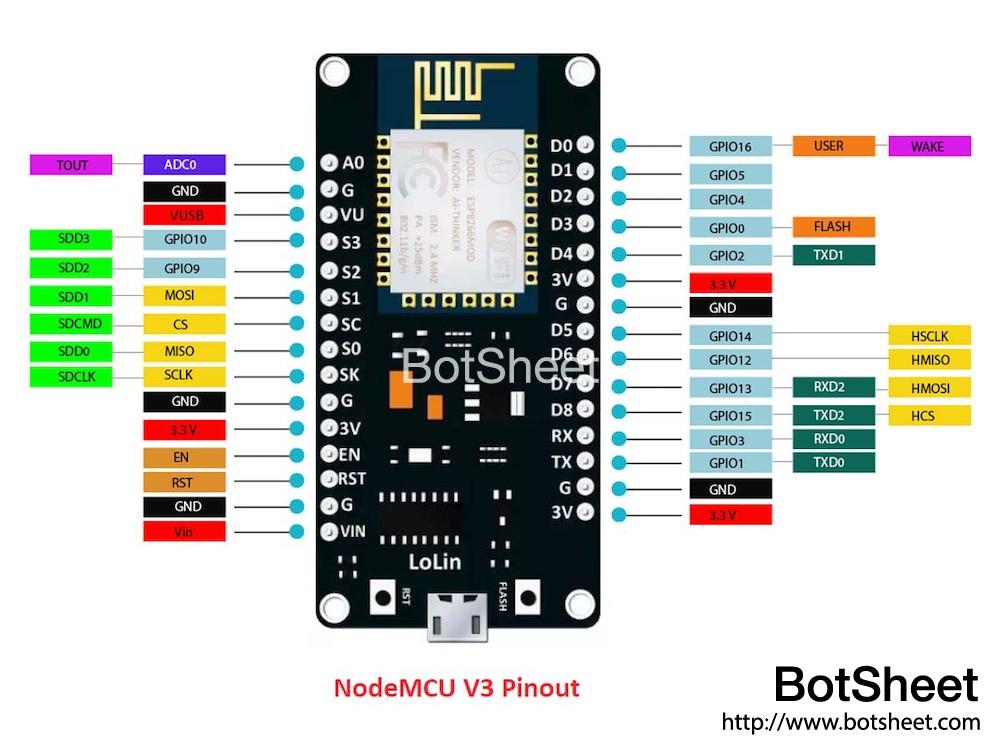
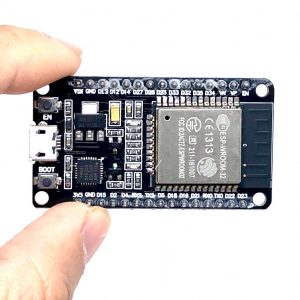
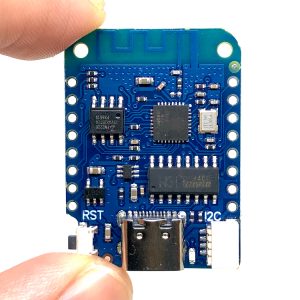
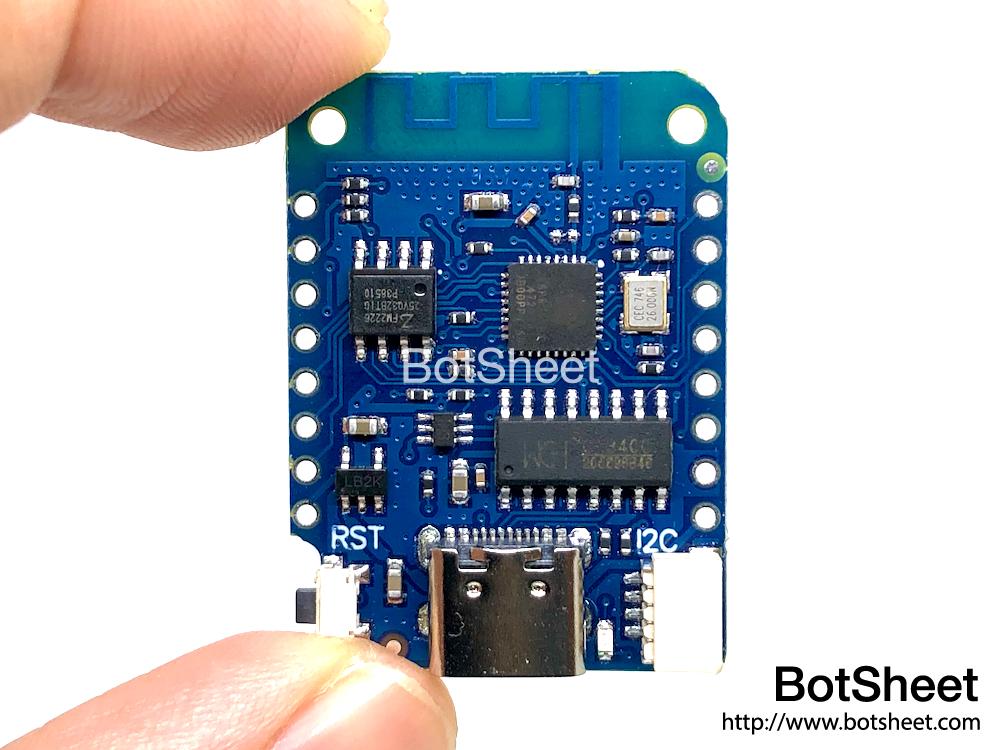
NodeMCU Lua是一款原型開發板,集成ESP8266 WIFI芯片,擁有GPIO、PWM、I2C、1-Wire、ADC等等硬件IO功能,能夠像Arduino一樣操作硬件輸入輸出,用交互式Lua腳本編寫硬件代碼,能夠用Node.js類似的語法編寫網絡應用程式,豐富的事件驅動型API,極方便地讓用戶進行網絡應用開發,並運行於5cm大小的MCU上,是開發物聯網的極佳原型開發板。
.主要用途:
開發IOT物聯網產品
.延伸應用:
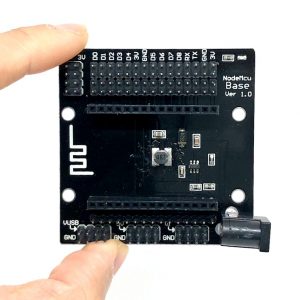
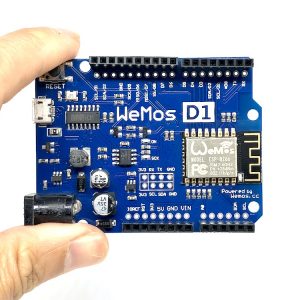
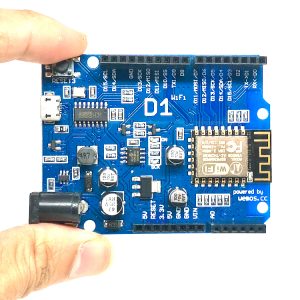
配合NodeMCU Lua馬達擴張板,能夠簡單地製作無線智能小車。
.商品特色:
– 能夠用Node.js類似的語法編寫網絡應用程式
– 擁有GPIO、PWM、I2C、1-Wire、ADC等等硬件IO功能,能夠像Arduino一樣操作硬件輸入輸出
.商品規格:
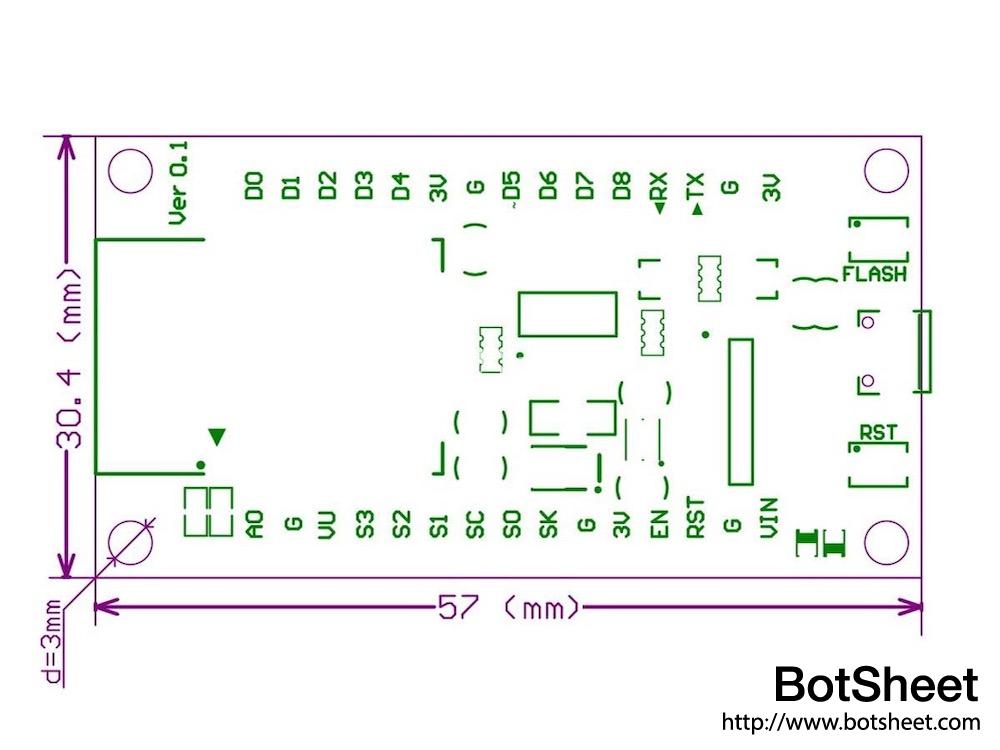
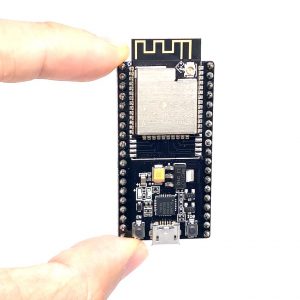
尺寸:31*58*13mm
重量:68g
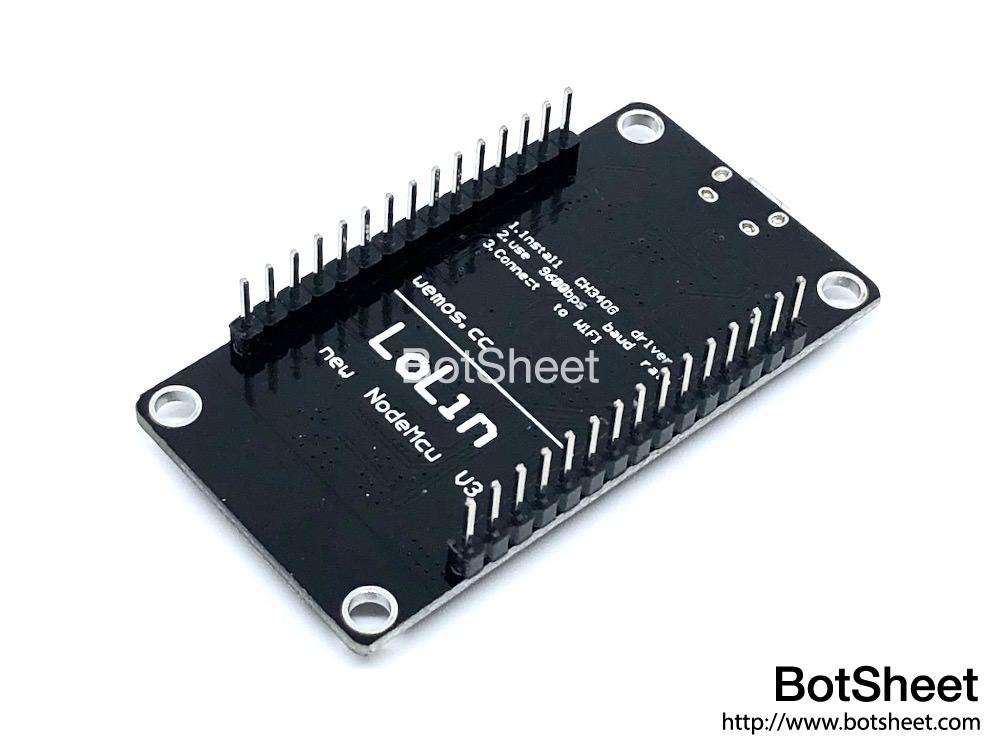
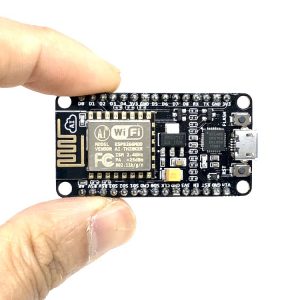
型號:NodeMCU Lua v3
連接:MicroUSB
芯片:ESP-12E
無線網絡:802.11 b/g/n
工作模式:支援 STA / AP / STA+AP
工作電壓:4.5V – 9V
USB芯片:CH-340
存儲容量:4MBytes
記憶體:20kBytes
官方網站:http://www.nodemcu.com
.商品包含:
1 x NodeMCU v3 Lolin ESP8266開發板
・示範短片:
・Arduino開發環境設置教學短片:
.程式範例:


商品評價
目前沒有評價。